This is the multi-page printable view of this section. Click here to print.
Getting Started
1 - UQ members
Signing into XNAT
Step 1
Open https://xnat.rcc.uq.edu.au
Note
This is the link to the UQ AIS XNAT. If you have been provided with a project specific XNAT link to use, use that one insteadStep 2
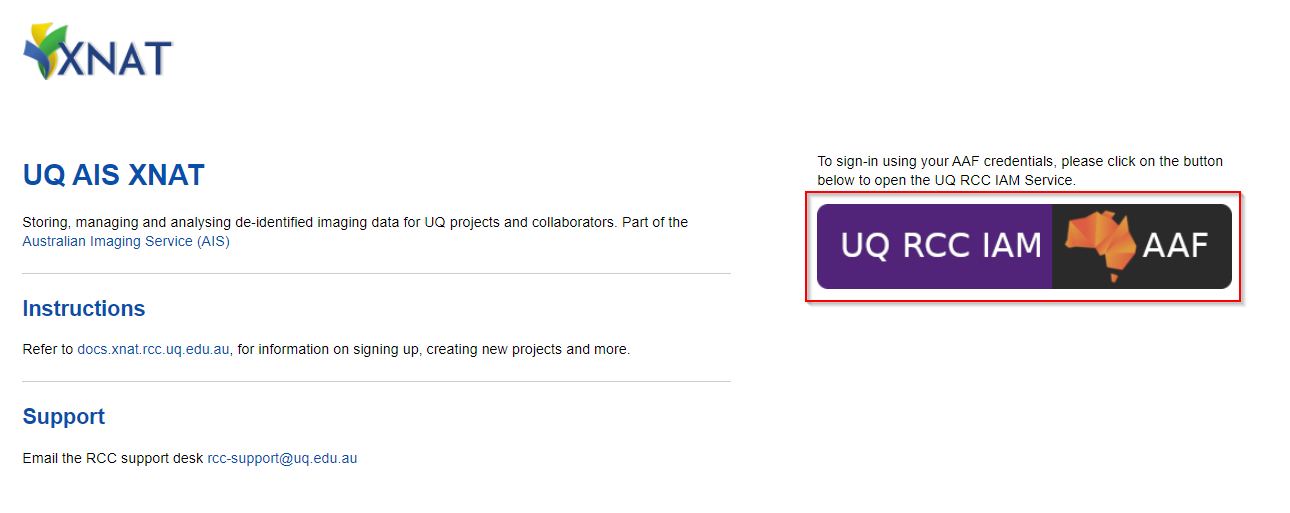
Login in with the AAF Single sign-on button (shown below).
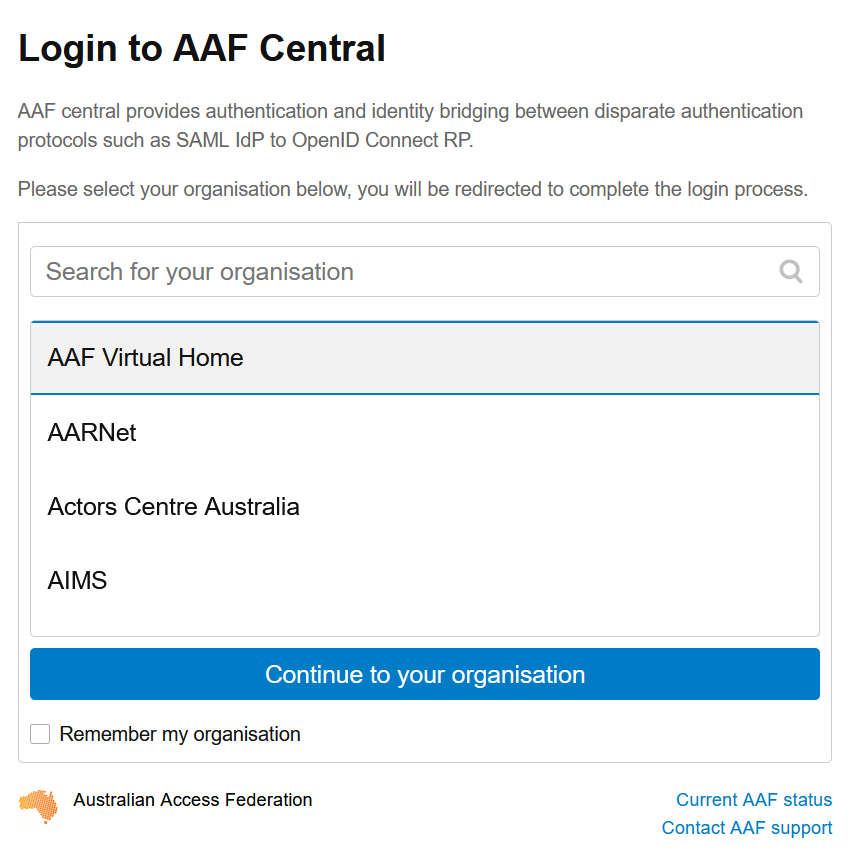
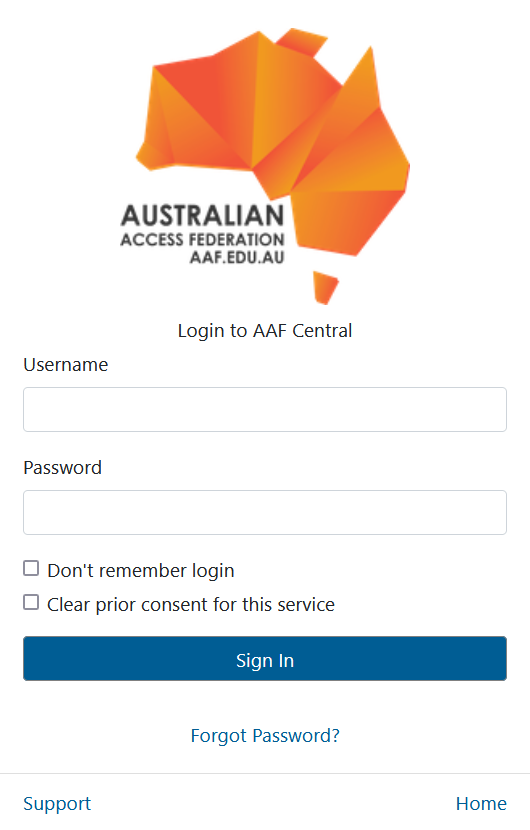
Follow the AAF login process for your organisation

Step 3
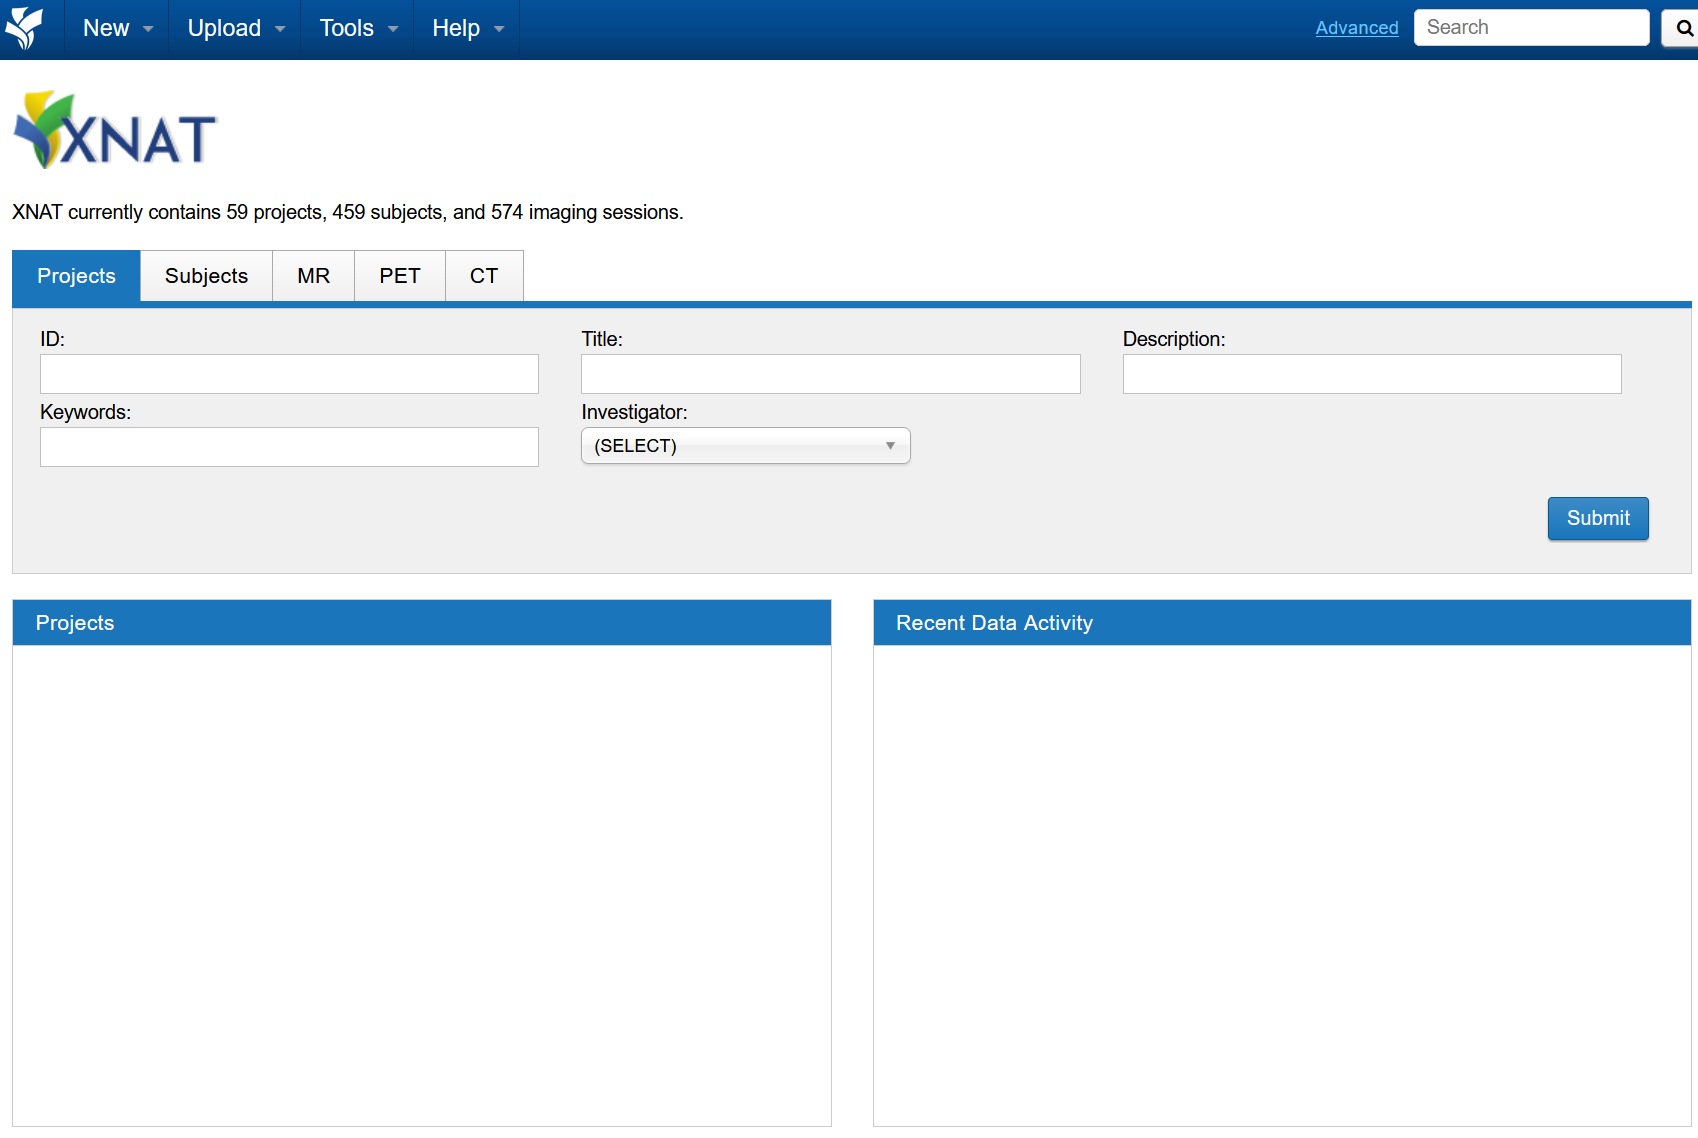
After the AAF sign-in, you should be redirected back to XNAT (Example below)
There will be no projects listed when signing in for the first-time, as your user account would have just been created.

Proceed to to next section for setting up an XNAT project
Creating XNAT project
For UQ users, XNAT uses UQ-RDM HPC collections for storage allocation.
For any general questions about UQ-RDM, please refer to the library guides
Note
Only one member of the project team needs to request for the projectStep 1
Before creating an XNAT project, you’ll require a UQ-RDM HPC Collection
- HPC collections ends with -Q and a 4-digit numerical identifier (e.g. PROJ001-Q0189)
- Non-HPC collections end with -A (e.g. PROJ001-A0189) or -I (PROJ001-I0189)
To create a new UQ-RDM HPC Collection, proceed with the following
Open https://rdm.uq.edu.au/create-record and sign-in
Fill in the record as per your project details

Important
For (6) Data Storage Options, select the second option (The project data needs to be mounted on UQ HPC facilities.)
Any other option will be incompatible with XNAT, requiring a new RDM request
REQUEST DATA STORAGE when complete
Move on to the next step after the RDM collection is provisioned
You should have an RDM collection name ready (e.g. PROJ001-Q0189)
Step 2
Open a ticket with RCC support
Example below (replace __________ with your details)
Subject: Create XNAT project __________
Hello RCC support Can we create an XNAT project for RDM collection __________
Step 3
The support ticket will inform you when the project is set up.
- An XNAT project will be created with the matching name (e.g. PROJ001-Q0189)
- An xnat directory will be created in the RDM collection for storing the XNAT data files
- Please do not write or modify anything under the xnat directory
XNAT Project setup typically takes around ~24 hours from ticket submission
An automated email from XNAT will be sent through when project is ready, and your user has been added
2 - Other AAF members
This guide is for users from Australian Universities and AAF member organisations, including:
- QUT, Griffith, CQU, JCU, USQ, USC
- CSIRO, Australian Universities
- AAF VHO accounts
Other AAF members usually require UQ AIS XNAT access for:
- Management of data acquisition from sites such as CAI, HIRF, TRI
- Collaborating on projects managed on UQ AIS XNAT
Full list of AAF members found here
For all other organisations, use the Non-AAF members guide
Signing into XNAT
Step 1
Open https://xnat.rcc.uq.edu.au
Note
This is the link to the UQ AIS XNAT. If you have been provided with a project specific XNAT link to use, use that one insteadStep 2
Login in with the AAF Single sign-on button (See below).
Follow the AAF login process for your organisation

Step 3
After the AAF sign-in, you should be redirected back to XNAT (Example below)
There will be no projects listed when signing in for the first-time, as your user account would have just been created.

Accessing XNAT Project
If you are Acquiring data at HIRF, CAI or TRI
- The respective facility will organise the project creation.
- You will receive a follow up email when access has been granted
- Contact rcc-support@uq.edu.au if you have not received access within 5 working days
If you are collaborating on an existing XNAT project
- Contact the project lead to grant you access to the XNAT project
3 - Non-AAF members
This is for users from non-AAF member organisations, including:
- QLD Health, TRI, QIMR, QLD Xray
Non-AAF members usually require XNAT access for:
- Management of data acquisition from sites such as CAI, HIRF, TRI
- Collaborating on projects managed on UQ-RCC XNAT
XNAT uses AAF for login. QCIF/QRIScloud can provide AAF Virtual Home (VHO) accounts for non-AAF users.
Creating an AAF VHO account
Step 1
Open a ticket with RCC support to request an AAF account
Example below (replace __________ with your details)
Subject: XNAT AAF account for project __________
Hello RCC support
I require an AAF account to access the UQ AIS XNAT service
My details are below
Organisation: __________
Data Acquisition Site: __________
Step 2
AAF’s VHO account will return an email regarding the VHO account registration process
Step 3
After account is provisioned, continue on to the Signing into XNAT guide
Signing into XNAT
Step 1
Open https://xnat.rcc.uq.edu.au
Note
This is the link to the UQ AIS XNAT. If you have been provided with a project specific XNAT link to use, use that one insteadStep 2
Login in with the AAF Single sign-on button (See below).

Select the AAF Virtual Home option (See below) and login with your AAF VHO credentials.


Step 3
After the AAF sign-in, you should be redirected back to XNAT (Example below)
There will be no projects listed when signing in for the first-time, as your user account would have just been created.

Accessing XNAT Project
If you are Acquiring data at HIRF, CAI or TRI
- The respective facility will organise the project creation.
- You will receive a follow up email when access has been granted
- Contact rcc-support@uq.edu.au if you have not received access within 5 working days
If you are collaborating on an existing XNAT project
- Contact the project lead to grant you access to the XNAT project
4 - HIRF users
Data acquired at HIRF can be sent to the UQ-RCC XNAT repository
To get started, refer to the relevant guide below:
- UQ members
- UQ Staff and Students
- Other AAF members
- QUT, Griffith, CQU, JCU, USQ, USC, Bond
- CSIRO, QCIF, Australian Universities
- Full list of AAF members found here
- Non-AAF members
- TRI, QIMR
- QLD Health, QLD Xray, Pacific Radiology
If you have any questions, contact rcc-support@uq.edu.au or HIRFAdministration@health.qld.gov.au